
If you’ve ever shot a video clip and felt it just dragged on too long, or had extra bits at the start and end you didn’t want, trimming it down can make a huge difference. Clean editing helps any video look sharper, keeps viewers interested, and cuts out those moments you’d rather not include. Even if you’re totally new to editing, the basics of video cutting and trimming are pretty easy to learn, and once you’ve got them down you’ll see your videos look a whole lot better.
Why Cutting and Trimming Matter in Video Editing
When people talk about video editing, most of the time what they mean is cutting and trimming. It sounds simple, but it’s super important for storytelling or just making sure your clip gets straight to the point. Clean cuts help viewers stick with you, and trimming gets rid of long, awkward pauses or scenes that don’t add anything. A well-trimmed video feels more professional, whether you’re posting on social media or sharing with friends.
Editing isn’t just about removing mistakes. It can be about fitting within a time limit, making scenes flow better, or focusing the viewer’s attention where you want it. Think about a video you watched and lost interest halfway through. It’s usually because it’s too long or includes unnecessary scenes. Good trimming keeps your content punchy and watchable.
By taking the time to clean up your edits, you gain more control over your video’s pacing and energy. Even small cuts can bring a tired segment back to life. It’s also a great way to remove anything you’re not comfortable sharing, making sure only your favorite moments make the final cut.
Getting Ready: What You Need to Cut and Trim Videos
You don’t have to buy expensive software to cut or trim videos. There are plenty of free and simple tools available on both computers and phones. Programs like Shotcut and OpenShot are free for computers. If you’re editing on your phone, apps like Adobe Premiere Rush or CapCut are easy, and even YouTube has a built-in editor for basic trimming at upload.
Before you start, make sure your raw video files are easy to reach. Name your files clearly and set up a folder for your project so nothing gets lost. If you’re importing from a phone or camera, move the clips to your computer first for easier editing. Keeping your footage organized will make the whole process flow more smoothly and prevent misplaced files.
- Tip: Save a backup of your original video before you start making any cuts, just in case you want to reverse any changes later on.
Some advanced programs offer more control if you want to take up editing a notch, but for most basics, the tools above cover everything you need. Don’t get bogged down worrying about features you won’t use; stick with simple tools if you’re just learning.
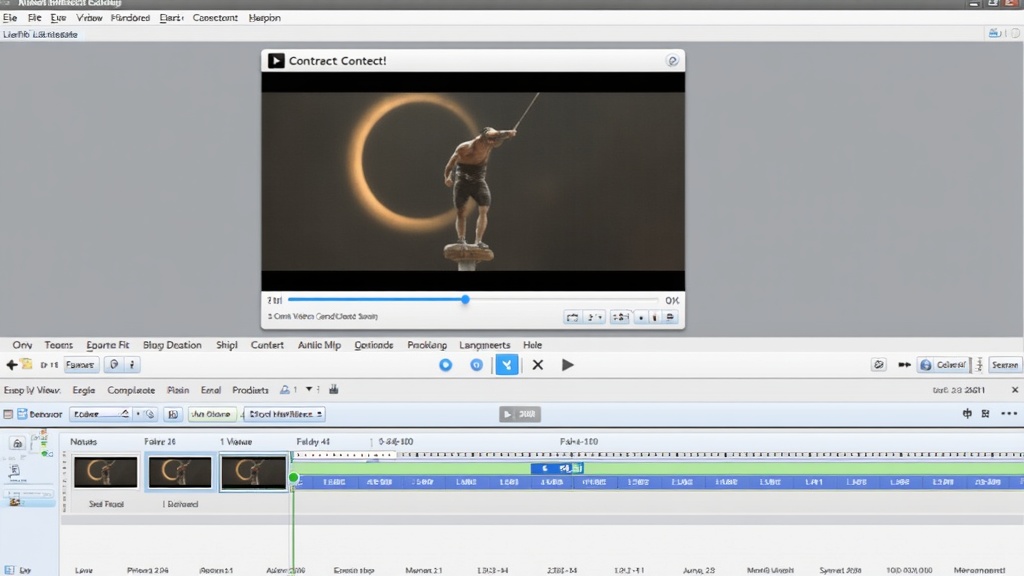
What is Trimming? Simple Steps to Trim a Video
Trimming is the process of shortening a video by cutting bits from the beginning or end (or sometimes both). You use trimming whenever you want to skip the setup at the start or cut off those seconds after you stop talking. It’s often the first edit I make with nearly any video, as it gets rid of the fluff and lets the best parts shine.
Here’s how I trim a video (works in most apps):
- Open your video in a video editor. Drag and drop your file into the timeline or workspace.
- Select the clip. The editor will usually highlight or outline it.
- Move the trim handles. On most editors, you’ll see handles or bars at each end of the clip. Drag these to the frame where you want your video to start and stop. You can also use play controls to find the exact spot and set cut points.
- Preview your trimmed video. Play the clip and make sure you’ve got just what you want. Adjust the trim if needed.
- Export or save the trimmed clip. Once you’re satisfied, save it as a new file. Now you’ve got a tidier, shorter video ready to share.
Some editing apps come with a “split” or “cut” tool for chopping sections from the middle, which is useful when you need to remove mistakes or awkward pauses inside the video.
Don’t forget: it’s better to cut a bit extra than to leave in sections you don’t like. You can always duplicate the video and experiment until you get it right.
The Six Basic Steps to Video Editing
Editing a video doesn’t have to be complicated. You can break it down into these six basic steps that work whether you’re cutting a sports highlight or a birthday video:
- Import Your Footage. Bring your video files into your editor so you can work with them.
- Organize and Review. Watch through your clips to get a feel for what you have. Make notes on what you want to keep or delete so you don’t waste time.
- Cut and Trim. Use the trim handles or cut tool to remove unwanted parts at the start, end, or even the middle of your clips. Focus on what adds value.
- Arrange Clips in Order. Drag your best shots onto the timeline and organize them in a way that tells your story clearly. Getting the order right is key.
- Add Transitions and Effects (Optional). You might add fades, quick transitions, or simple titles. Less is usually more; too many effects can distract from your message.
- Export and Share. After reviewing, save your finished video in the format you need and share it or upload it where you want. Doublecheck your export settings for the best quality.
Editing is really an experiment. Try things out, rewatch, and don’t be afraid to make changes if something feels off. With these six steps, you can clean up almost any video fast and make it much more enjoyable to watch.
What’s the Easiest Way to Cut a Video?
If you want the fastest route, most computers have built-in editors that allow quick cuts. On Windows, the “Photos” app lets you trim clips by dragging the ends of the timeline, and on Mac, iMovie has effortless cut tools. Even YouTube trims a video after you upload it; head to YouTube Studio, pick your video, and use the trim tool to fix up either the start or end.
For really simple trimming (like a quick Instagram story), TikTok and Instagram both offer easy builtin trimming when you upload a clip. Move the sliders to pick just the portion you want to share. No complicated software needed, just a few taps and you’re set.
- Tip: Always watch a preview before saving, since it’s easy to accidentally trim too much if you go too fast. Take a moment to doublecheck your edit.
The Four Phases of Basic Video Editing
Every editing job follows a general flow. Knowing what stage you’re in helps things stay organized. Here’s how I break down the process:
- 1. Ingesting/Importing: This step is about moving all your raw video files into your editor so you can start work.
- 2. Rough Cut: Trim each clip and make the big calls on what stays or goes. Focus on the backbone of your video, not worrying about fine details yet.
- 3. Fine Cut: Here, I tighten up everything, adjust timings, make smaller trims, clean up any transitions, and add effects or music as needed.
- 4. Final Export: Save your polished video in your chosen format or quality. This is the copy to upload or share.
Each phase stacks on the last, so even with a quick trim, you still go through this structure. Be patient and thorough; small changes add up in the final product.
Common Issues When Trimming and How to Fix Them
Occasionally, trimming tools may feel awkward or less responsive depending on your editor. Or, you may chop more than you intended. Most editors let you undo your latest changes with Ctrl+Z (or Command+Z on a Mac). If your video file won’t load, give converting it to MP4 a shot using a free tool like HandBrake, as some editors only accept certain formats.
Audio syncing can get out of place after lots of splitting or moving clips around. Always watch your edit to check for unexpected jumps or missing sound. If things don’t match up, backtrack and step through your edits to fix the problem clips.
- Pro Tip: Shorter is often stronger. If in doubt, trim a little extra—viewers appreciate a video that gets to the point, and you can always add more back if you need.
Frequently Asked Questions
What is trimming and steps to trim a video?
Trimming is taking a bit off the start or end of your video to keep just the parts you want. Load the video in your editor, move the trim handles, preview your clip, and save. It’s a super quick way to polish your content.
What are the six basic steps to video editing?
Bring in your footage, review and organize clips, trim, arrange your clips, add quick effects or titles if needed, and finally export your finished video.
What is the easiest way to cut a video?
The simplest option is to use built-in tools in Windows Photos, Mac iMovie, or mobile apps like Instagram or TikTok. Just drag sliders to pick what you want to keep, no extra downloads required.
What are the four phases of basic levels of video editing?
Import your files, make a rough cut, clean things up with a fine edit, and wrap up by exporting your final video.
Extra Tips for Smoother Cutting and Trimming
Save your work frequently—many editors won’t auto-save for you. Label your clips if using lots of footage so you always know which is which. When trimming lots of sections from a big clip, jot down the times you want to cut on a notepad. This small step can save headaches later.
Trimming, cutting, and a little bit of arranging will get you most of the way to a sharp, clean-looking video. Even just chopping away awkward starts and pauses delivers a huge improvement. Once you get comfortable, experiment with titles, text overlays, or smooth transitions, but don’t underestimate how much power you get from just trimming alone. Over time, you’ll see your videos come together faster and with much more polish.
Wrapping up, remember: practice makes perfect, and you’ll spot new tricks each time you edit. Trust your instincts—if a section drags or doesn’t feel right, trim it! Soon your videos will look better, seem more professional, and grab more attention from start to finish.